Unit 3: Painting
I adapted these lesson plans from Portraiture Unit Plan by Christy Lunde and Amy Robertson. The whole unit is available below.
Lesson 1:
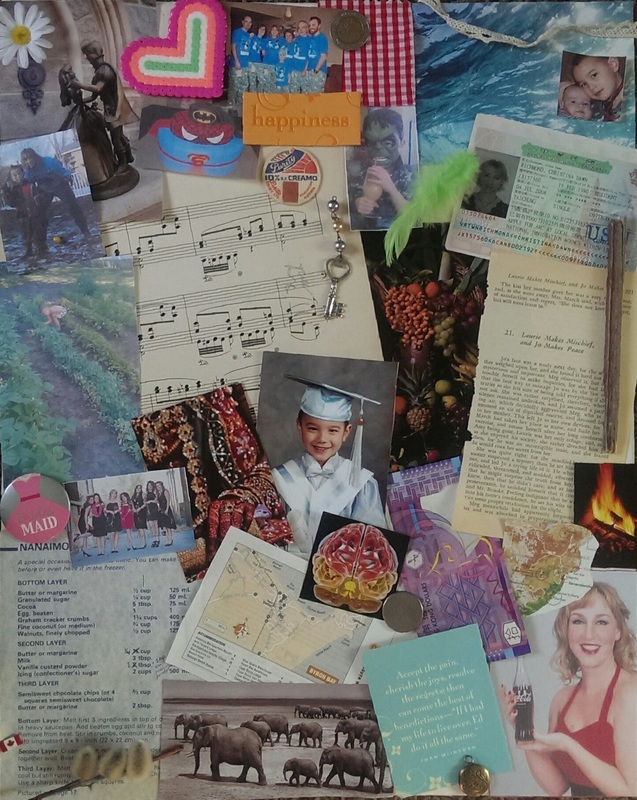
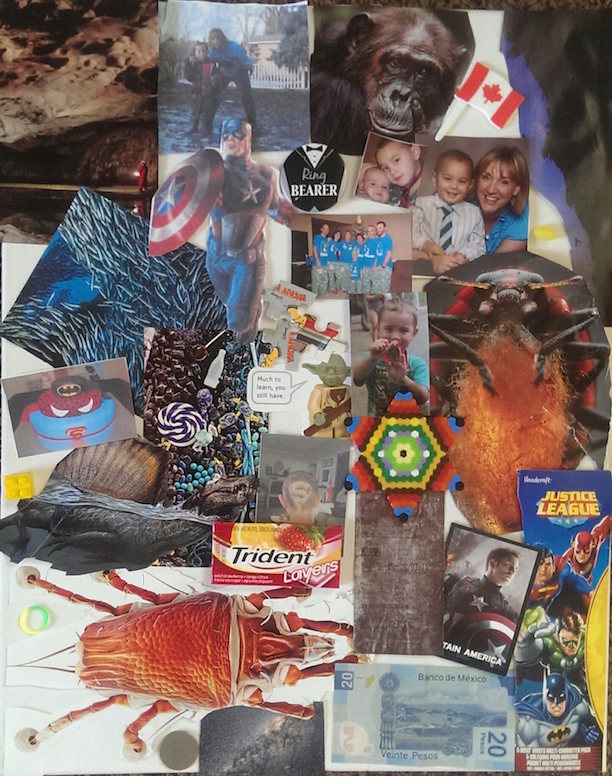
Students will explore collaging in a variety of ways. They can choose to do a black and white collage, a 2D collage, or incorporate color and 3D objects into their collage. For the purposes of this unit, students will be asked to gear the collage towards an explanation of who they are as a person (likes, dislikes, passions, hobbies, opinions, wants, etc.). Once these are completed the collages will be displayed for the class to do a gallery walk. Students will write comments or questions on a post-it and place these next to the art. The artists will then have a chance to answer the questions posed, and will have an opportunity to verbally explain their pieces.
Lesson 1:
Students will explore collaging in a variety of ways. They can choose to do a black and white collage, a 2D collage, or incorporate color and 3D objects into their collage. For the purposes of this unit, students will be asked to gear the collage towards an explanation of who they are as a person (likes, dislikes, passions, hobbies, opinions, wants, etc.). Once these are completed the collages will be displayed for the class to do a gallery walk. Students will write comments or questions on a post-it and place these next to the art. The artists will then have a chance to answer the questions posed, and will have an opportunity to verbally explain their pieces.
|
|
Lesson 2:
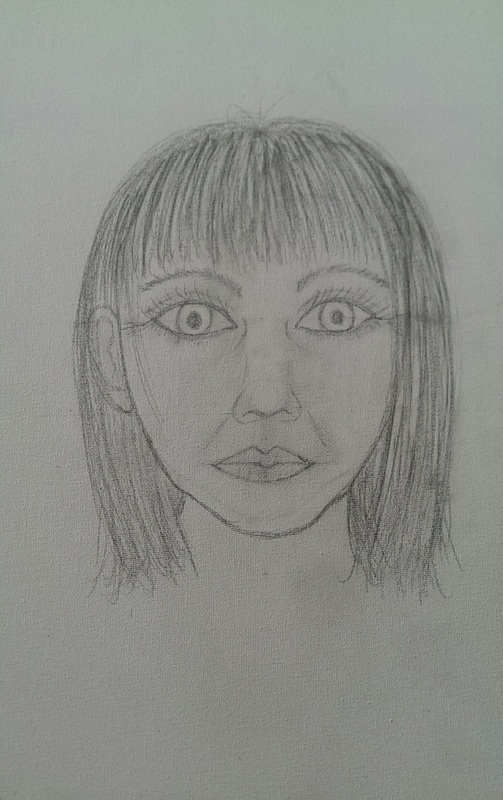
Students will create a self-portrait using graphite or charcoal. Each student will be given a mirror as well as a set go guidelines to follow as to the appropriate proportions for human features. Students will adapt these proportions to their own features to create as realistic a portrait as possible. They will also have access to erasers and smudging tools in order to create shading and shadows within their portraits.
Students will create a self-portrait using graphite or charcoal. Each student will be given a mirror as well as a set go guidelines to follow as to the appropriate proportions for human features. Students will adapt these proportions to their own features to create as realistic a portrait as possible. They will also have access to erasers and smudging tools in order to create shading and shadows within their portraits.
Lesson 3:
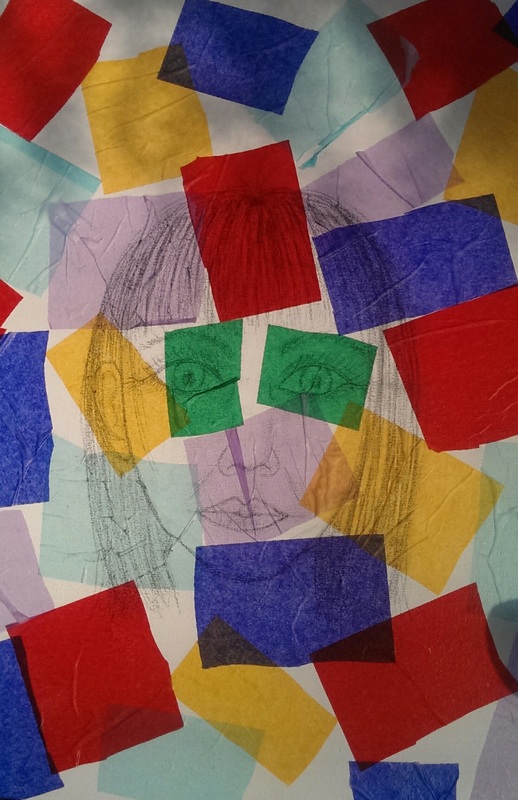
For this part of the lesson, students will use the portrait they created previously and add color to it. To do this, each student will choose a variety of colors of bleeding tissue paper which they will cut or rip into various shapes of various sizes. The students will then arrange the pieces of tissue paper on their portraits in a way that they feel enhances the features they would like to, or in a color scheme that represents themselves in some way. Students will also need to consider positive and negative space and how much of each they want to show through. After the paper has been placed on their portrait, the students will lightly spray the tissues with water and leave to dry. Once they are dry, the tissue paper can be removed to leave the color imprints.
For this part of the lesson, students will use the portrait they created previously and add color to it. To do this, each student will choose a variety of colors of bleeding tissue paper which they will cut or rip into various shapes of various sizes. The students will then arrange the pieces of tissue paper on their portraits in a way that they feel enhances the features they would like to, or in a color scheme that represents themselves in some way. Students will also need to consider positive and negative space and how much of each they want to show through. After the paper has been placed on their portrait, the students will lightly spray the tissues with water and leave to dry. Once they are dry, the tissue paper can be removed to leave the color imprints.
Full Portraiture unit by Christy Lunde and Amy Robertson:
I chose to include the following unit on Pop Art, because I feel it is again adaptable to a variety of ages. I can see this unit being used in a high school Social Studies class, to represent what types of objects/words different cultures may represent as a piece of pop art or advertising. I also appreciate the freedom within this unit for students to express themselves and their own ideas, as opposed to being constrained by objectives.
Other Units/Ideas:
